Tutorial 1: The perfect family
portrait
1. Load up the images as explained in the Introduction.
2. Select File-->Group Portait from the menus in the Composite
window.
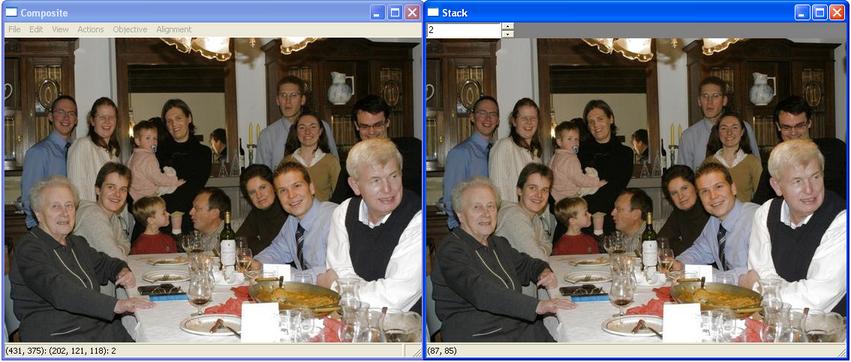
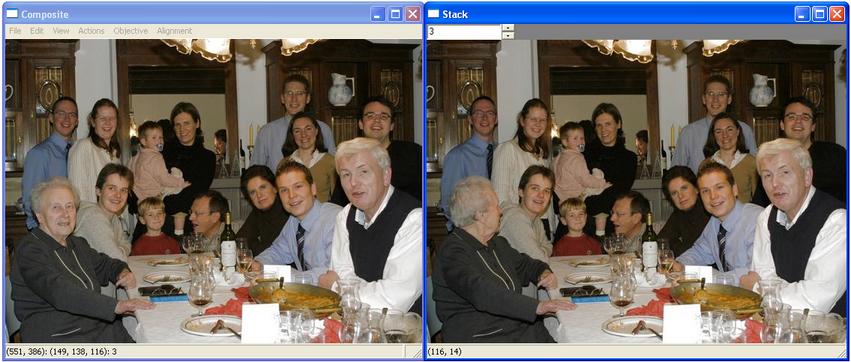
3. Scroll through the stack of images and select the first one to
be used in the composite - in this example, we use image 2.
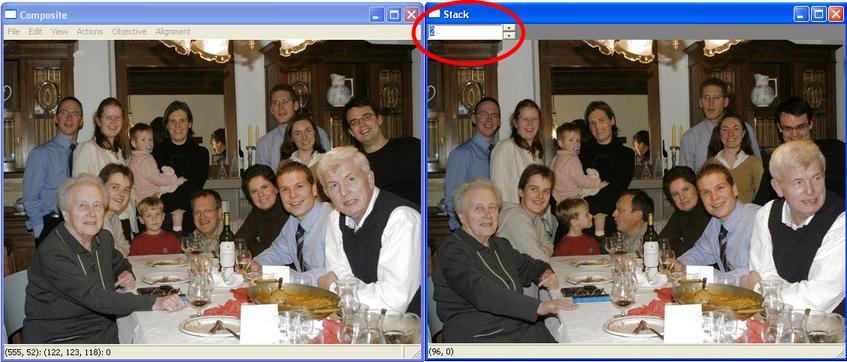
3. Paint on people to be added to composite.

Since this is the first stroke we lay down, the composite now becomes
the whole number 2 image.
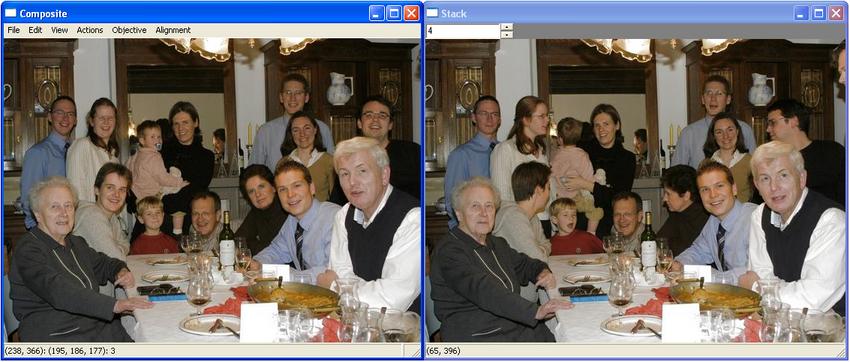
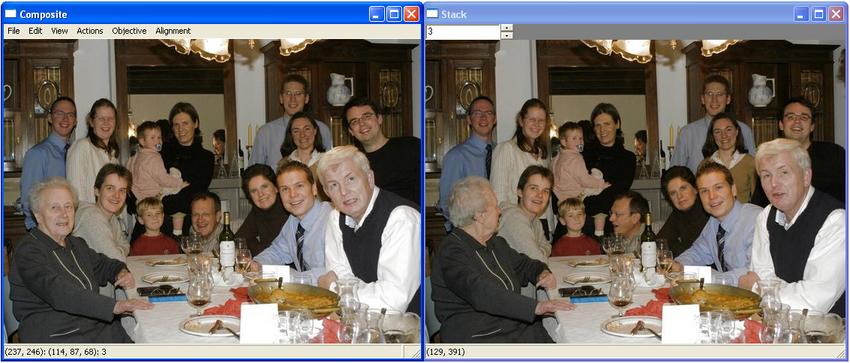
4. Next we fix the boy who is not looking at the camera. We go to image
3 in the stack and paint over the little boy and his mother.
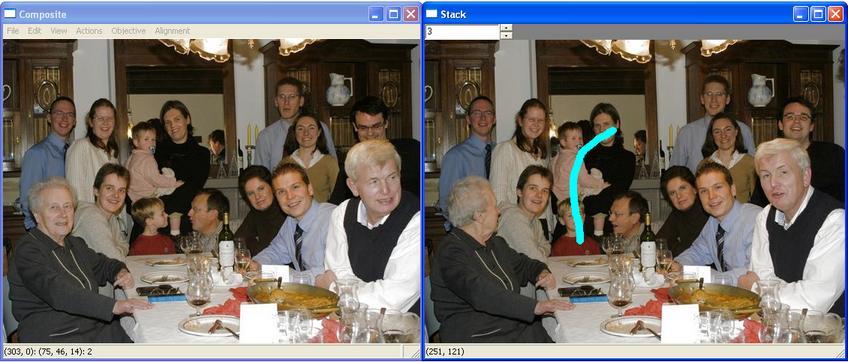
The resulting composite now includes the people on the left from image
2 and the small boy and his bother from image 3.
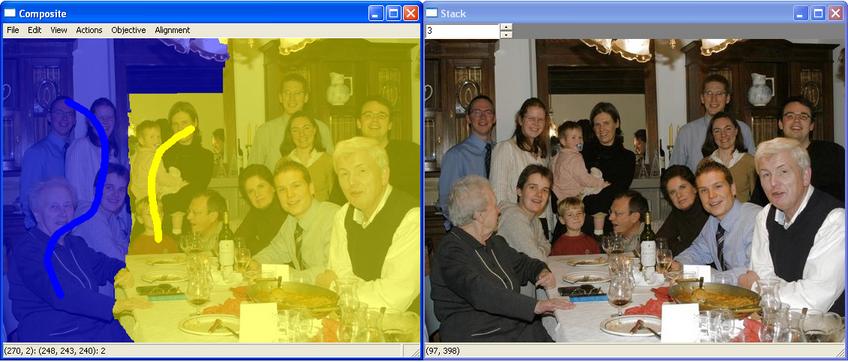
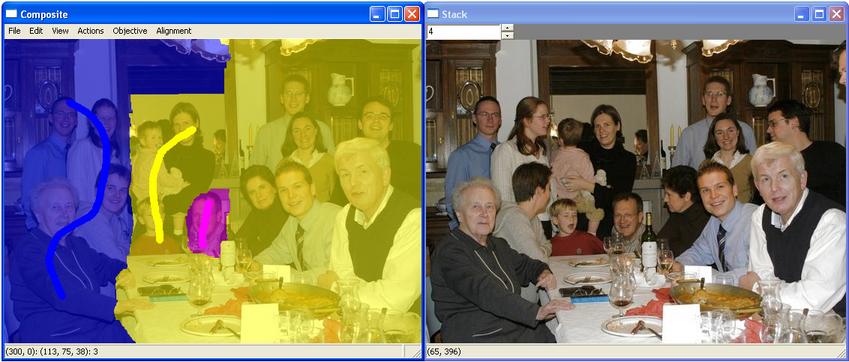
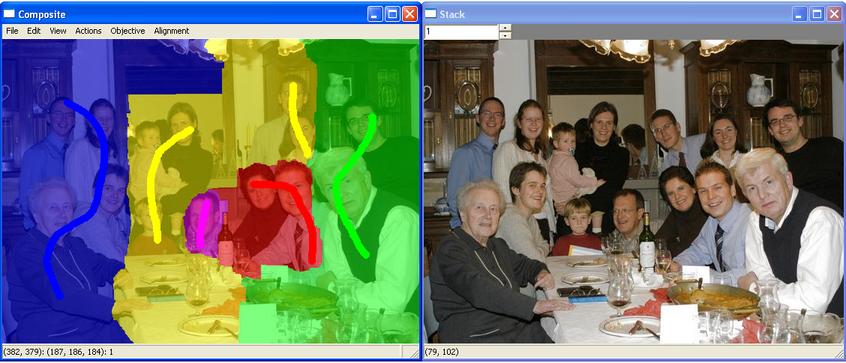
To view how the images are merged together, select View --> Labeling
and Strokes.
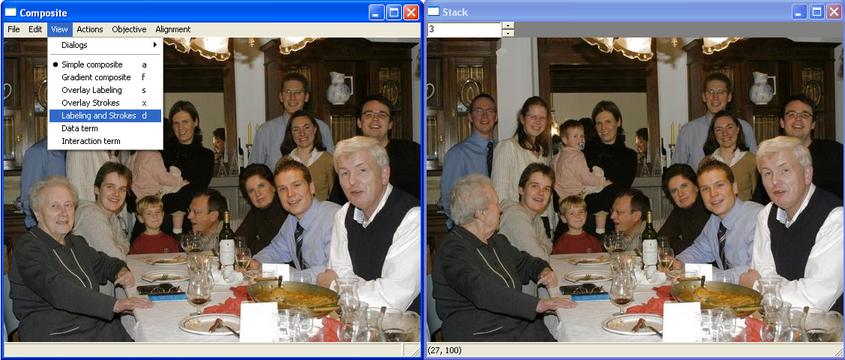
This view shows the source regions in different colors and the
corresponding brush strokes in the color of the source image. In this
example, source image 2 is blue and source image 3 is yellow. To view
the strokes or labeling individually select View--> Overlay Strokes
or View --> Overlay Labeling.
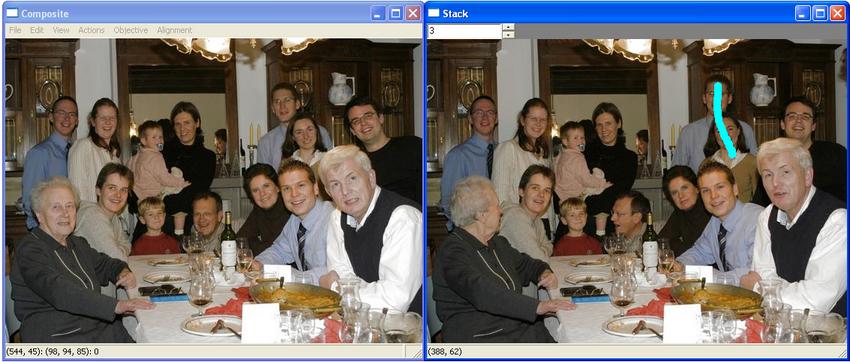
5. We continue by fixing the man in the back using image 4.

We paint on his face and the composite now includes better improved
versions of the little boy and the man next to him.
The composite is now made of three images.
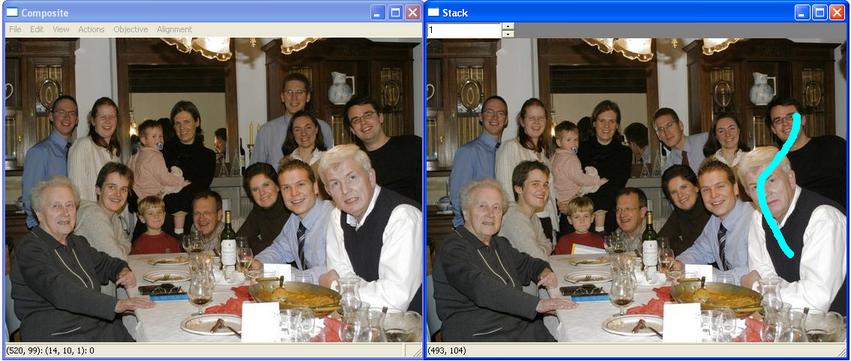
6. We continue by picking better views of the people on the right from
source image 0.
the resulting composite,
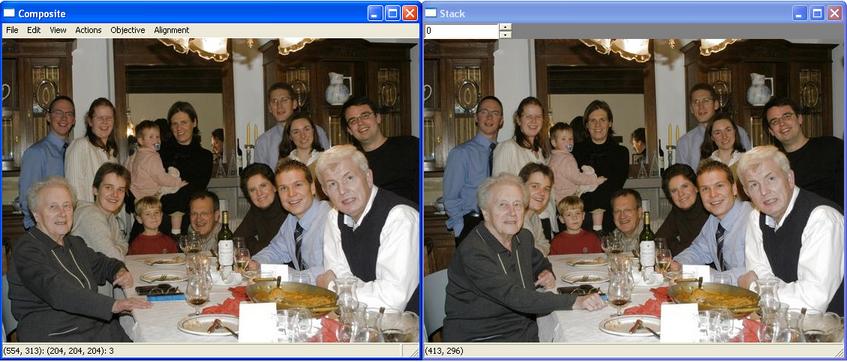
and the sources used in it.
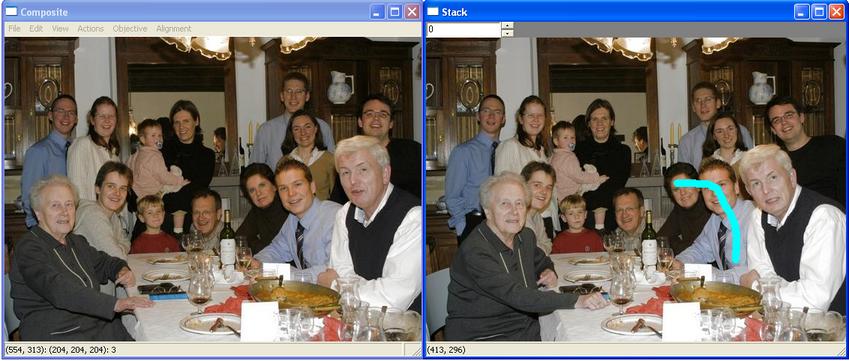
7. But now the man and woman in the back are not the ones we want. We
go back to image 3 and add them back in.
the resulting composite,
and the sources used to create it.

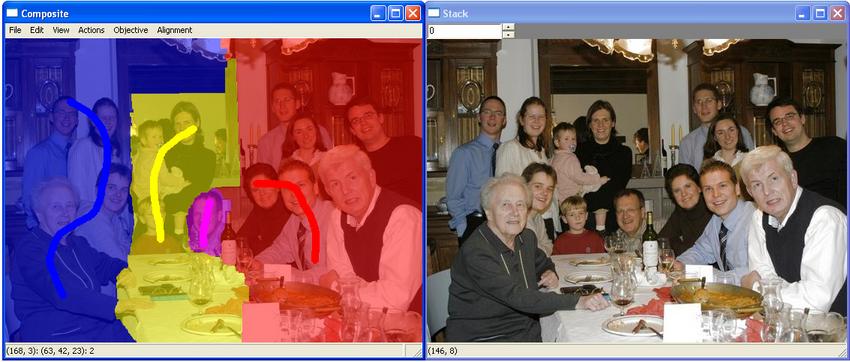
8. Finally we conclude with a better view of the grandfather, using
source image 1.
The resulting composite,
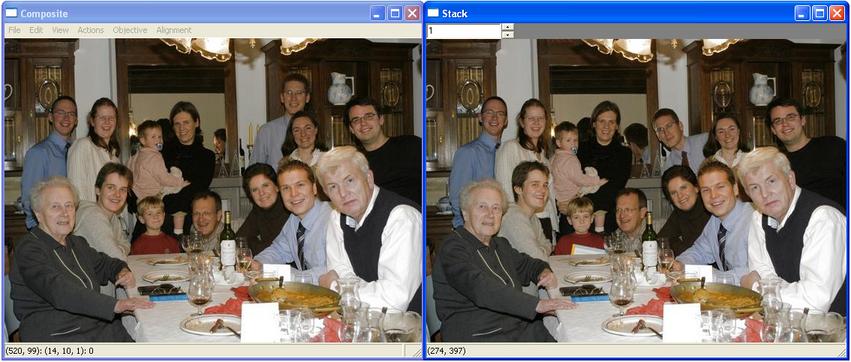
and the painted strokes and automatically computed regions.
We now have a family portrait that is better than any of the
originals.
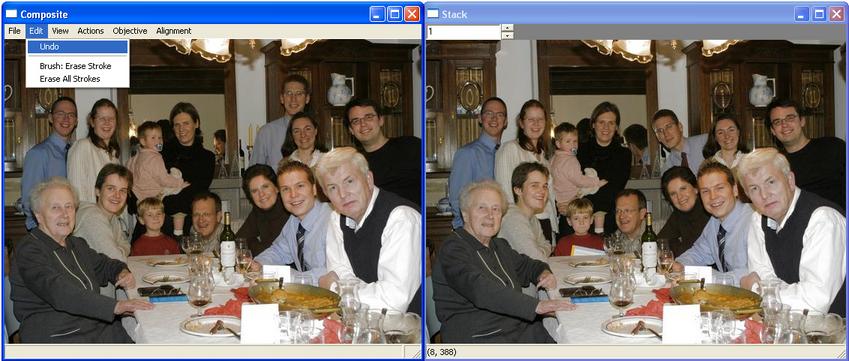
9. To remove the most recent stroke and computed region, select Edit
--> Undo.