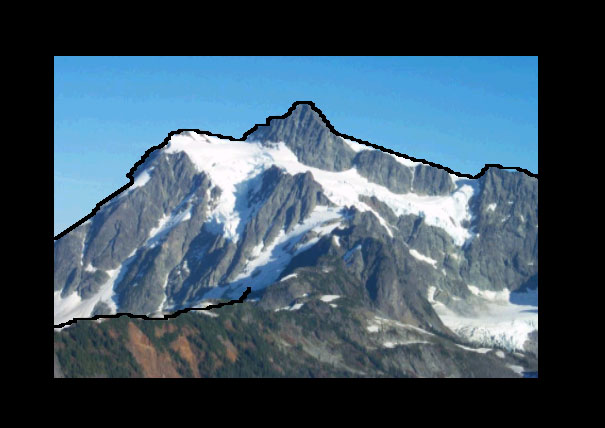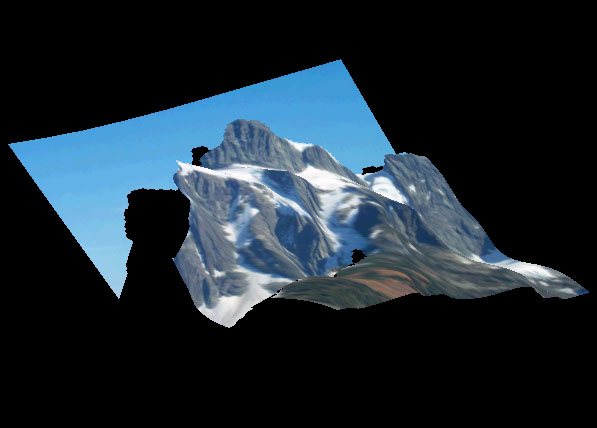
When the program is launched for the first time, there is only a plane empty grid. The user still can change the view in the right window, but the model remains a single plane. To create a 3D shape, the user must add position and normal constraints to give to the computer indications to build the model. Two types of point-like constraint are possible : position constraints and normal constraints.
Adding a position constraint is simply fixing the 3D localisation of a point in the image.
This animation gives an easy view of how to set position constraints. The blue and red crosses are both position constraints, but the red one is moving. We can see that the surface is following the crosses but keeps a smooth appearance.
 |
To set a position constraint, switch to the New Mode and select the Position constraint option. Then left click on the left window to create a new constraint. If you keep the left button down and move the mouse, you will adjust the height of the constraint. |
|
To modify a position constraint, switch to the Selection mode, then roll over the constraint ; the latter will be highlighted. If you click on it, you just select it. If you left-click-and-drag on it, you can move the constraint all through the grid If you right-click-and-drag on it, you can adjust the height of the constraint. |
|
To delete a position constraint, just select it and press the key Delete or Backspace. |
Adding a normal constraint is simply fixing the local orientation of the surface at a point in the image
This animation gives us an example of the effects of a normal constraint. The four position constraints in the corners fix the global position of the grid, whereas the normal constraint in the center sets the orientation of the local surface.
|
To set a normal constraint, switch to the New Mode and select the Normal Constraint option. Then left click on the left window to create a new constraint. If you keep the left button down and move the mouse, you will adjust the orientation of the constraint. |
|
To modify a normal constraint, switch to the Selection mode, then roll over the constraint : the latter will be highlighted. If you click on it, you select it. If you left-click on it and maintain the left button down, you can move the constraint all through the grid. If you right-click on it and maintain the right button down, you can adjust the orientation of the constraint. |
|
To delete a normal constraint, just select it and press the key Delete or Backspace. |